If you need extra information for a booking that doesn’t need to be filled out for each guest, you can create Primary Forms.
1. Navigate to the option’s edit page.
2. Under Booking Fields, click Add Primary Forms.
3. Configure your primary form.
If you want to copy an existing form, select it and click Load (1). Otherwise, continue creating your field.
4. Select whether the field should be shown everywhere or only on the back-end (2). Fields shown everywhere will be presented to the customer during checkout. Back-end fields are only for internal use, and can be filled out in the Rezgo point of sale.
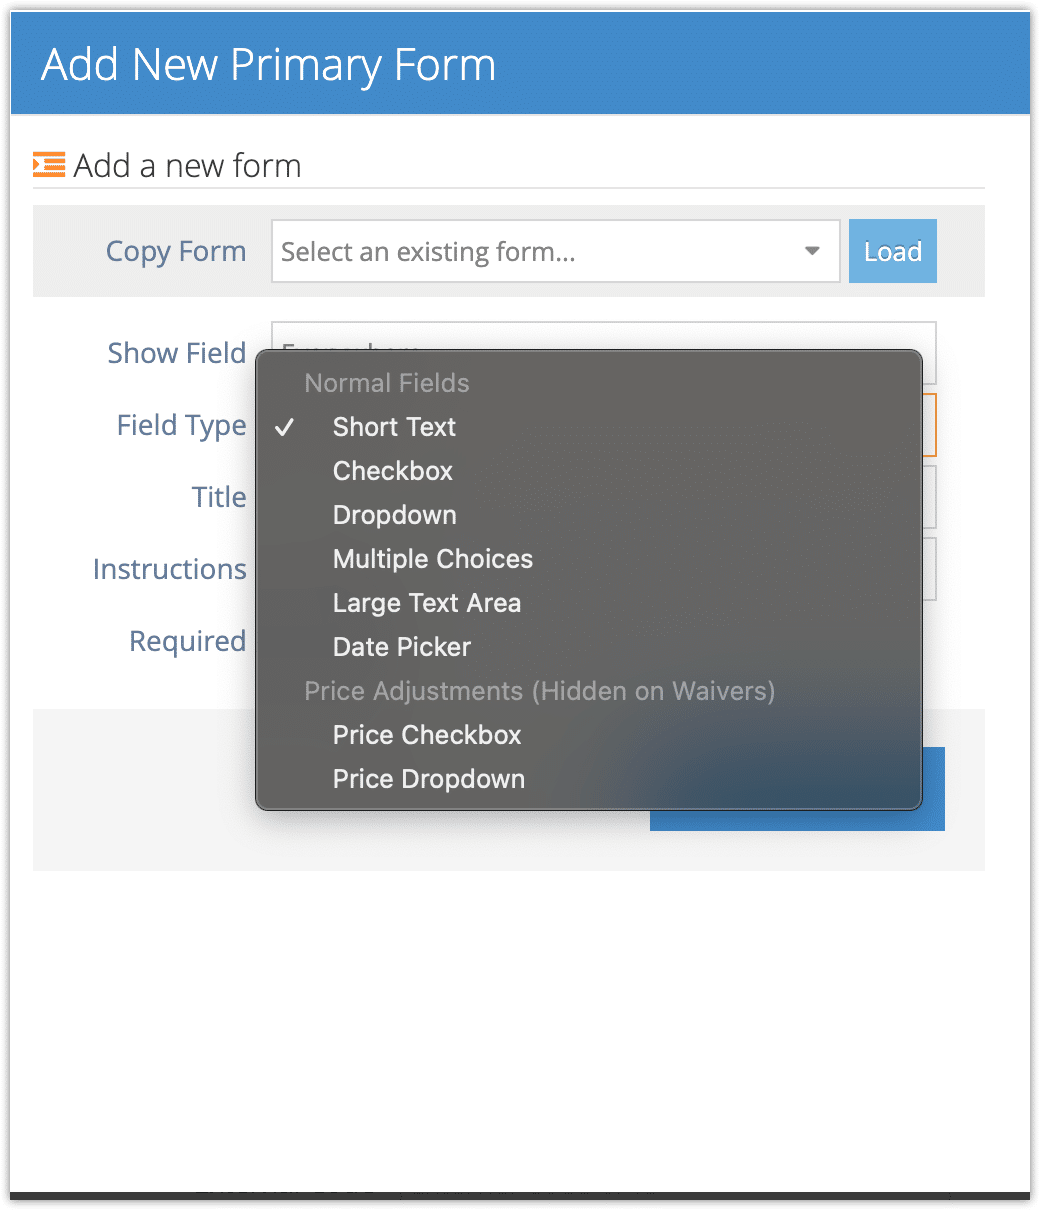
5. Select the field’s type (3):
-
- Short text – a small blank text-entry field
- Checkbox – a box the customer can either check or leave unchecked
- Dropdown – A dropdown list from which your customer can make one selection from the options you configure.
- Multiple Choice – a list from which your customer can choose multiple selections from the options you configure.
- Large Text Area – a large blank text-entry field.
- Date Picker – a selector that allows users to pick a date.
- Price Checkbox – a checkbox that lets customers select optional add-ons that will adjust the booking’s total by the amount you enter in the Price field.
- Price Dropdown – A multiple choice price checkbox that lets users choose from a selection of add-ons.
6. Enter the field’s title, which will appear next to the form during checkout or in the POS (4).
7. Enter instructions (5). These can tell your customer what they should to fill out in more detail.
8. Toggle whether the field should be required or not (6).
9. Configure any additional options, depending on your field type (7).
10. Look over the form preview to make sure it displays how you intend (8).
11. Click Add Field (9).
You can organize the order your primary forms will appear by dragging the arrow to the left of the form.
You can delete a primary form by clicking the X to the right of the form.
Click Save Changes when you finish adding fields.


