
Some tours and activities require signed waivers. If you add a waiver, it will be available for orders made through the Rezgo point of sale. Customers who book on the web will also be required to sign the waiver, or have their guests sign waivers.
If you haven’t configured your waiver template, be sure to complete that step first.
First, navigate to the item’s edit page.
1. Click the Use Waiver toggle (1), found below the description and tickets sections.

2. Select whether one waiver should be signed per order or each member of the booked group should sign their own waiver (2).
– Per-order waivers can be signed on screen for in-person bookings, or during checkout on front-end bookings. They only collect a signature.
– Per-guest waivers can be signed after checkout or from the receipt for front-end bookings. They can also be signed on screen through a custom link, or sent by email to guests. They collect a signature as well as a guest’s name, email address, phone number and birth date for verification purposes.
3. Enter waiver content in the box provided. This content will be displayed after the content included in the waiver template.

If you need specific sections of your waivers to be initialed, you can use the [initial] tag below that content.
4. Click Save Changes.
Once you create a per-order waiver, it will be found on the details page of any order that includes this item or merchandise going forward. Per-guest waivers will be found with guest information on the details page of bookings for this item.
Requesting more waivers or no waivers per booking
When you set up per-guest waivers, you can also ask for more than one waiver to be signed for a given booking. Or, you can set certain price tiers to not ask for waivers at all. To do that, you can configure the price tier on the option.
First, go to the option’s edit page.
Find the price tier you want to collect multiple waivers for.
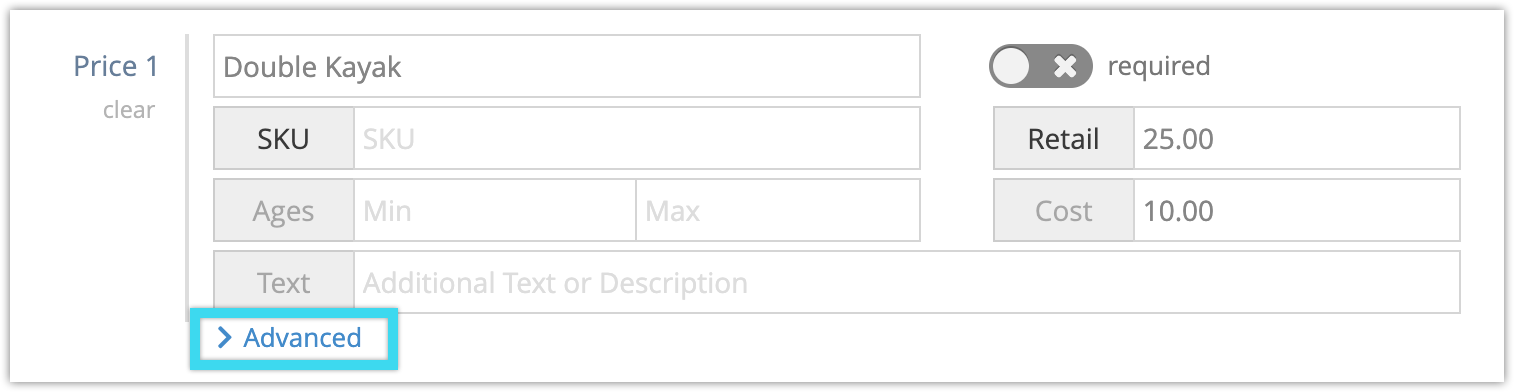
Click Advanced.
Select how many waivers you want sent for a single booking of this price tier.
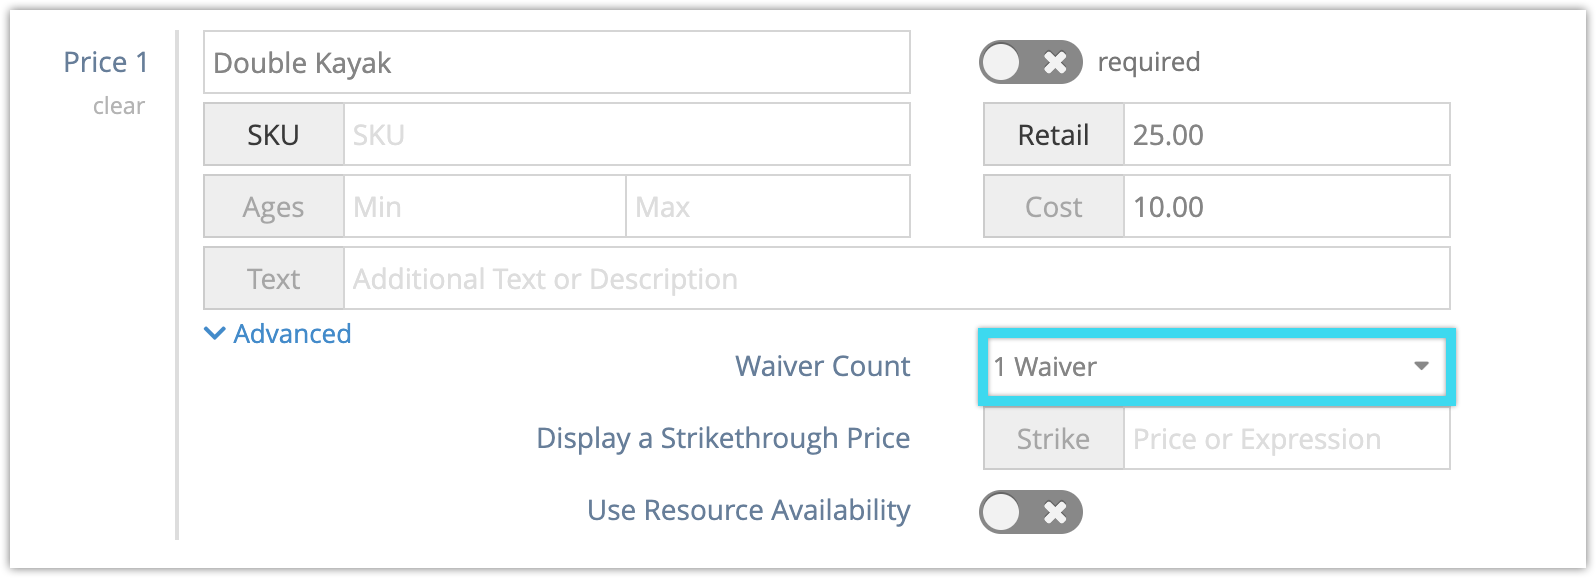
For example, if you want to send two waivers per double kayak that gets rented, you could set the waiver count to two.
If you don’t want waivers sent to tickets for a certain age group, you could set the waiver count to “No waivers.”
Setting up merchandise waivers
Waivers can also be enabled for merchandise. First, navigate to the merchandise edit page.
1. Toggle Use Waiver under the Details heading.

2. Click Save Changes.
The provided waiver will include content from your waiver template.